


technical
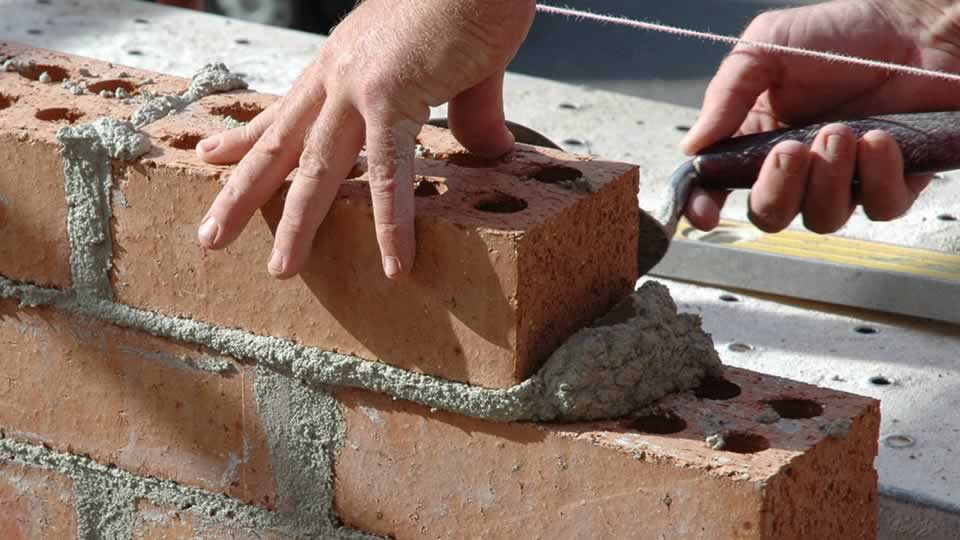
Joint Reinforcement

Some type of horizontal reinforcement should be used with all concrete masonry construction to help control shrinkage cracks. Full story
technical
Barrier Wall: Stone Veneer/Reinforced Concrete Block

This solid masonry wall features a structural concrete block backup system with a classic, natural stone façade. Full story
technical
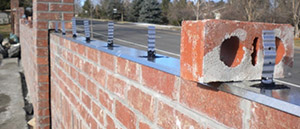
Bond Beams

A bond beam is a horizontally reinforced element in a masonry wall that provides resistance to shear loads and also helps distribute lateral loads throughout the wall section. Full story
technical
Cavity Wall: Brick Veneer/Reinforced Concrete Block

Designed to stand the test of time, this all-masonry wall system pairs a concrete block structure with brick for a beautiful, durable, and maintenance-free façade. Full story