Mortar and Grout: Consolidating Masonry Grout

Place masonry grout with a slump of 8” to 11”, measured with a slump cone. Yes it should be that soupy!
If you are mixing your grout right – to a slump of 8” to 11” a required by ASTM and the building code – it has a soupy, runny consistency. You may be surprised to find out that even though masonry grout has excellent flow characteristics, you still have to provide consolidation to make sure grout in the wall is solid without void or cracks.
Grout fulfills a very important role in reinforced masonry construction, transmitting structural loads to embedded reinforcing bars. Without grout filling the cells, rebar cannot act to resist loads and you may see cracks develop in your walls as a result. Solid grout also adds to fire ratings, helps to deaden sound coming through the wall, and increases a wall’s moisture resistance.
So what happens if we don’t consolidate grout?
- The grout may not flow all the way down the wall, especially if the wall is heavily reinforced with vertical bars, bond beam reinforcement, and joint reinforcement. We’ve run into many projects where the grout slump was less than 8” or where grout was not consolidated. Voids may occur way down in the wall as the grout hangs up on rebar, joint steel, or mortar debris. Make sure your CMU cells align fairly well from top to bottom and mortar does not protrude more than ½” into the cell space to facilitate grout flow. Consolidation is required during placement to make the grout flow and completely fill the grout space.
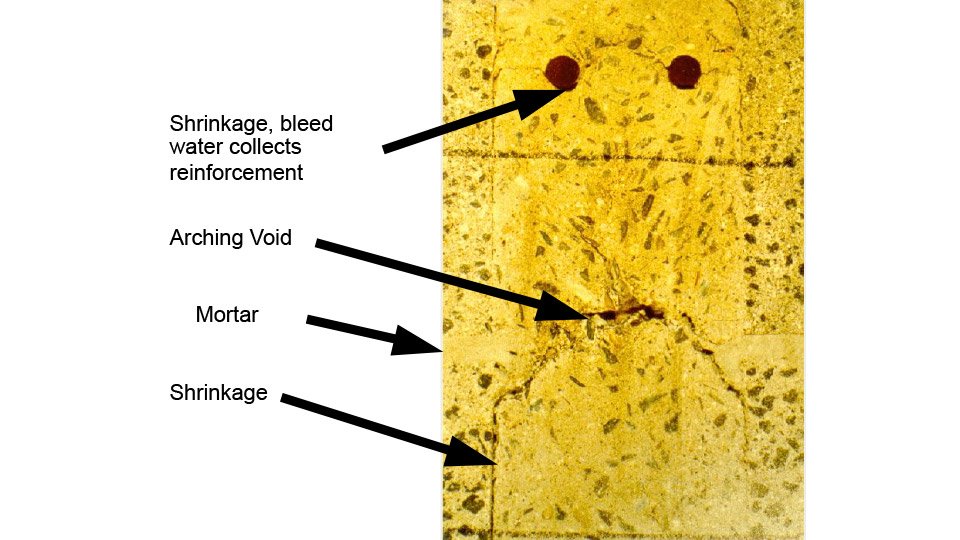
- Grout with a proper slump in the range of 8” to 11” has a high water content. That is fine and actually necessary to get good flow. When this highly fluid grout is placed in absorptive concrete or clay masonry units, water immediately migrates into the surrounding masonry. As the grout loses water, it shrinks, often forming cracks as it pulls away from the masonry unit. Grout also wants to shrink vertically and will hang up at mortar joints, resulting in “arching” voids. These types of voids may reduce structural capacity and let water into the wall. A special form of consolidation, called re-consolidation, is required to remove shrinkage-related cracks and voids from the grout.

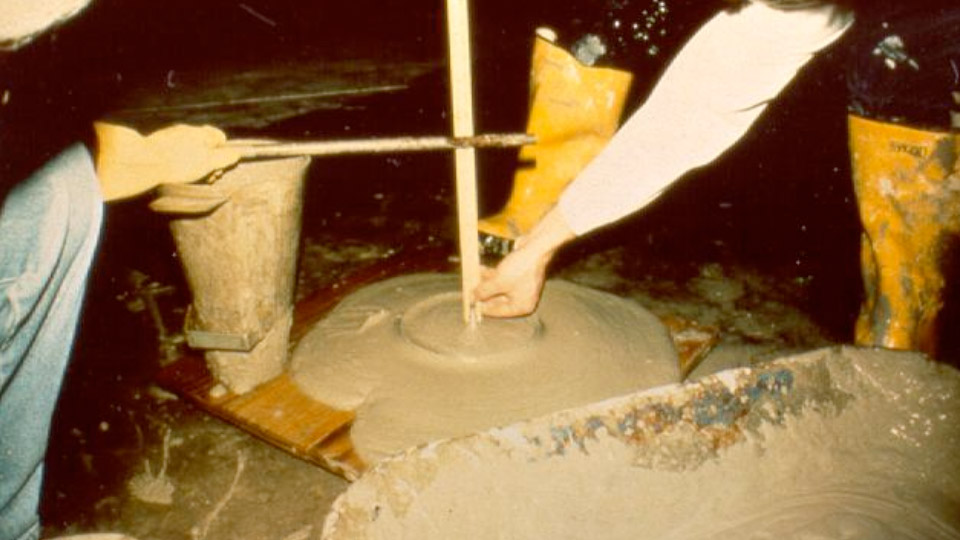
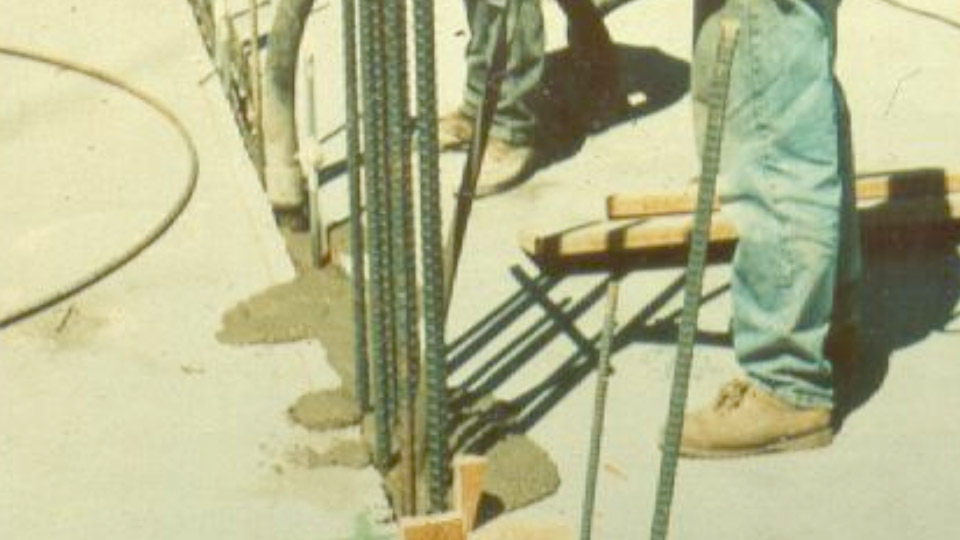
Consolidate grout as it is being placed, and again after 10 or 15 minutes to reconsolidate and remove shrinkage cracks from the grout. Photo courtesy of Bruce Suprenant.
The building code has several grout consolidation requirements to make sure grout flows to fill the grout space and to remove shrinkage cracks after water has migrated into surrounding masonry. TMS 602-13, Specification for Masonry Structures Section 3.5, contains code requirements for grout placement.
- Any time grout is placed in lifts greater than 12”, grout must be consolidated using mechanical vibrators. That means a vibrator stinger pushed all the way down to the bottom of the grout space for a few seconds, and drawn out slowly. You cannot just touch the vibrator to rebar sticking out of the wall and get good consolidation. Grout placed in lifts of 12” or less can be consolidated with a vibrator or by “puddling” the grout with a metal rod or piece of wood.
- Grout is first consolidated during placement, as the grout is poured or pumped into the wall, to make sure it flows all the way down to the bottom of the grout space.
- The Code also requires grout be re-consolidated “after initial water loss and settlement has occurred.” Now we understand reconsolidation removes shrinkage cracks and voids, but how do you know when to reconsolidate? Usually waiting 10 to 15 minutes is all that is required. Wait any longer and the grout will be so stiff that a vibrator cannot penetrate down into the filled cell.

Cross-section of a concrete block wall cut open after grouting. Grout shows many shrinkage cracks and voids as a result of poor reconsolidation.
Oh and by the way – if you are using the new product self-consolidating grout – you do not have to provide any consolidation. Just pour it in and walk away. Think about the savings in labor, equipment, and placement time next time you are consolidating and re-consolidating conventional masonry grout. That’s a good topic for another day: SCG – self-consolidating grout.